
Residential Roofing
Protecting Cincinnati homes with certified roof installations and storm damage repairs.
Our Residential Specialties
Shingle Roofing
Traditional asphalt and dimensional architectural shingles from leading manufacturers.
Complete Roof Replacement
Professional tear-off and replacement. 10% of net proceeds donated to your chosen charity.
Emergency Roof Repair
Quick leak tracing, missing shingle repairs, flashing corrections, and chimney crickets.
Storm Damage Insurance HELP
Detailed photographic documentation of hail/wind damage and on-site adjuster meetings.
Seamless Gutters
Installation of custom-fabricated seamless gutters and matching downspouts.
Premium Gutter Guards
Leaf protection systems that keep debris out and eliminate gutter cleaning.
Siding Installation
Premium vinyl and composite siding to enhance insulation and curb appeal.
Skylight Replacement
Leak-free Velux skylight installations and tunnel options.
Chimney Repair
Flashing repairs, brick counterflashing, and mortar joints seal.
The Residential Roofing Process
From the initial consultation to the final walkthrough, we ensure a transparent, professional, and high-quality experience.
1Planning & Prep
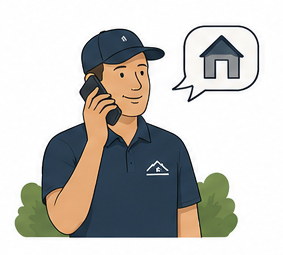
The Initial Phone Call
When you first call a roofing company, they will gather basic information about your home (address, number of stories, approximate age of the roof, and any active leaks). They will then schedule a time for an estimator to visit your property.
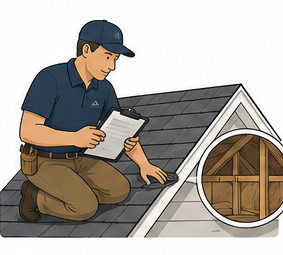
The Inspection
The estimator will arrive to assess the roof. They will look for:
- Missing, curling, or damaged shingles.
- Signs of water damage or rotting wood from the underside (sometimes checking your attic) but not all is visible until tear-off.
- The condition of the flashing around chimneys, valleys, and vents.
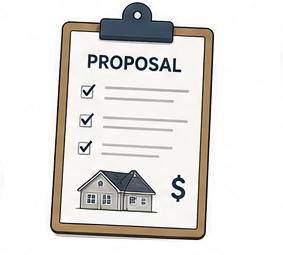
The Proposal (The Quote)
We provide a detailed proposal outlining the project parameters:
- The exact materials and brands being used (shingles, underlayment, etc.).
- Labor, building permit fees, and waste disposal/dumpster costs.
- Warranty information (both material and workmanship warranties).
- A fixed cost for replacing rotten roof decking (plywood) if any is found but isn't always a guarantee until roof is torn off.
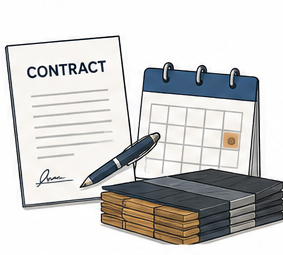
Contract & Scheduling
Once you select a contractor, you’ll sign the contract, choose your shingle style/color, and pay a deposit. The contractor will then pull the required local building permits and place you on their schedule.
A few days before the build, the roofing materials will usually be delivered and staged in your driveway or right on the roof.
2Installation
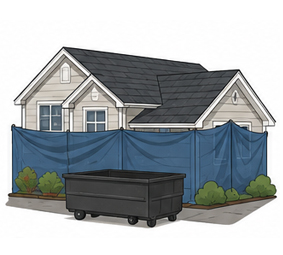
Property Protection
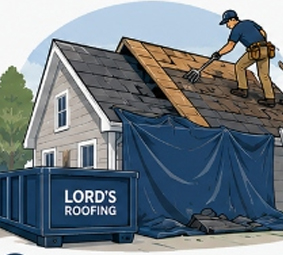
The roofing crew will set up heavy-duty tarps around the perimeter of your home to protect your landscaping, deck, and windows from falling debris. They will also position a large dumpster in the driveway.
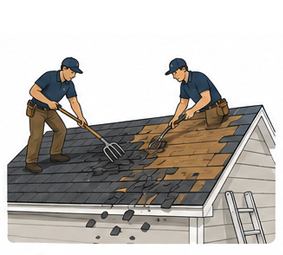
The Tear-Off
The crew will use specialized forks to strip away all the old shingles, old underlayment, and flashing, exposing the bare wooden roof deck. This is the loudest and messiest phase of the project.
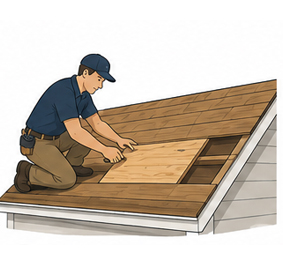
Deck Inspection & Repair
With the old roof gone, the crew inspects the wooden plywood decking. Any sections showing rot, mold, or soft spots are cut out and replaced with fresh wood to ensure a structurally sound base.
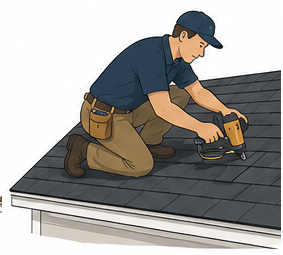
Component Installation
Before the new shingles go down, the core protective layers are installed:
- Drip Edge: Metal flashing installed along the edges of the roof to guide water into the gutters.
- Ice and Water Shield: A waterproof membrane applied to highly vulnerable areas like valleys and eaves.
- Underlayment: A breathable, synthetic felt layer rolled out across the rest of the roof to serve as a secondary water barrier.
Laying the Shingles & Vents
The roofers will install starter shingles along the edges, followed by the main roofing shingles. They will also replace all pipe boots (the seals around plastic pipes) and install new ridge vents at the peaks of the roof to ensure proper attic ventilation.
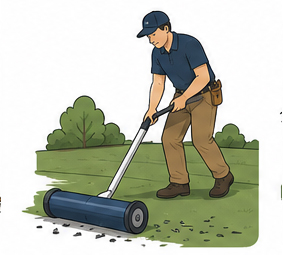
The Clean-Up
The crew will take down the protective tarps and sweep the entire yard for debris. They will use a massive magnetic roller across your grass and driveway multiple times to pick up stray roofing nails.
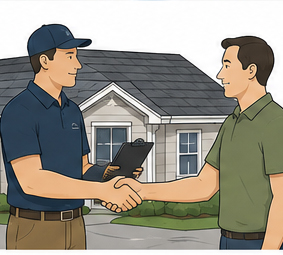
Final Inspection
The project manager or foreman will do a final walkthrough with you to ensure everything is built to code, the yard is clean, and you are satisfied with the work. Once approved, the dumpster is hauled away, and you receive your final invoice.
Project Duration
Depending on the size of your home, a standard asphalt shingle roof replacement usually takes 1 to 2 days.
Pro Tip for Homeowners
The day before construction begins, move your vehicles down the street so they don't get blocked by equipment or hit by falling debris. Inside the house, take fragile decorations off the walls, as the hammering will cause vibrations.
Need a Professional Inspection?
Book an inspection from our local Owens Corning certified crew. We serve Southwest Ohio and Northern Kentucky.